Diamond Recorder || Recorder Start Up Wizard || Local GUI
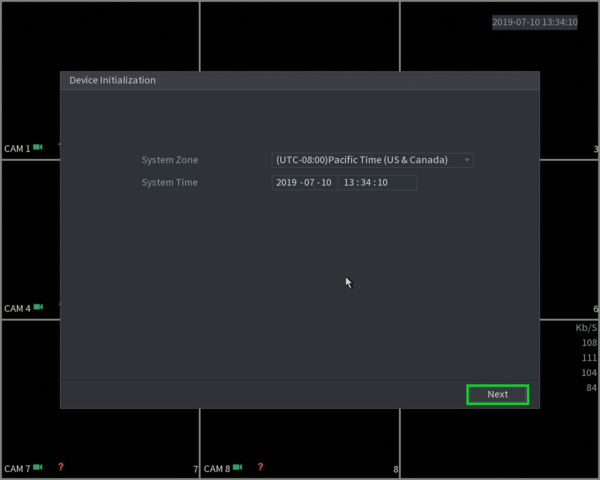
1. When you first turn on the recorder you will be greeted with the region settings. Click on the drop down menu and select "United States" and click Next.

2. Select the proper time zone setting for your region.
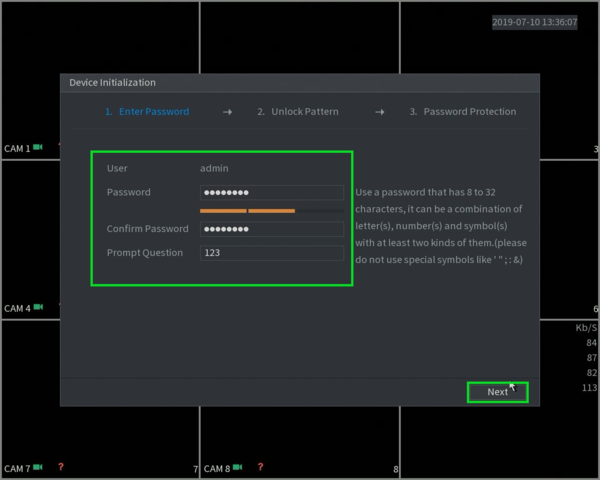
3. You will now be prompted to input a password for the admin account.
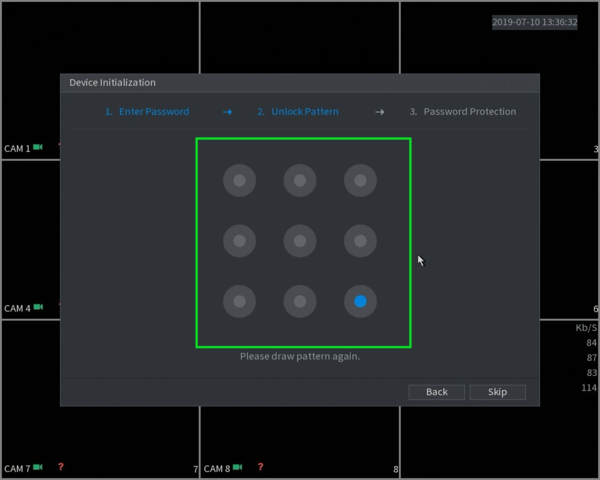
4. For easier login you can create a pattern, you will need to enter it twice to confirm.
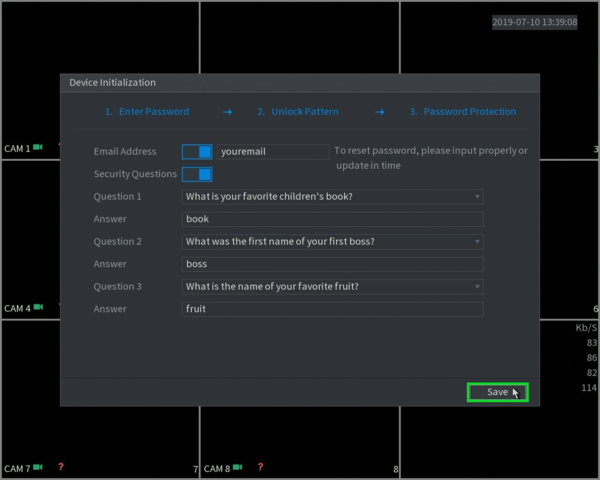
5. Enter your email in order to reset the admin password in case the password was forgotten, you may also setup security questions.
Note: When reset the password for XVRs and NVRs, the security code will be sent to the registered email. If you skip this step, the system will ask you to put an email before proceed with the password reset process.
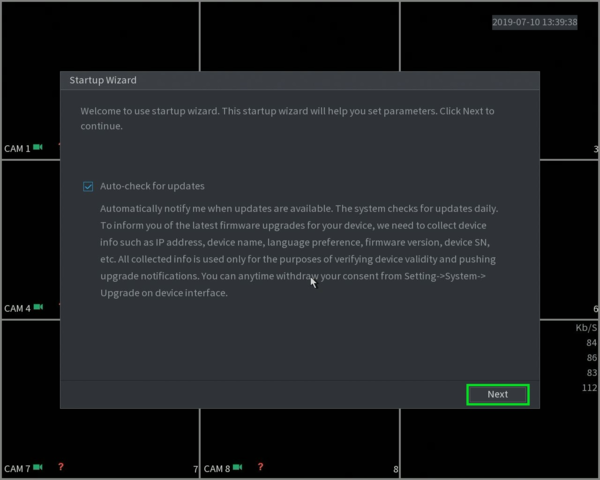
6. The Auto-check for firmware is not yet implemented in the U.S. so you can just click on next.
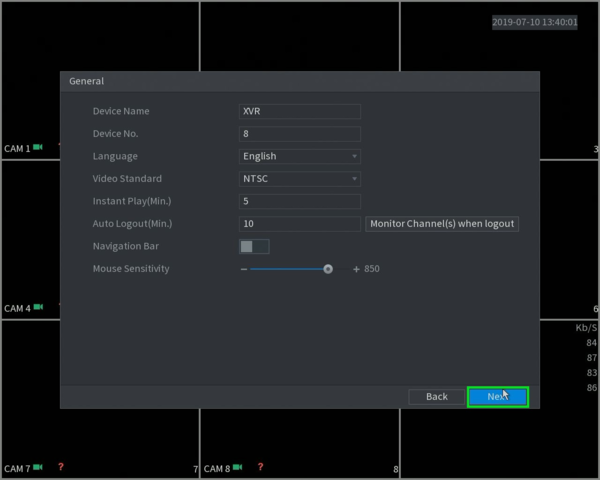
7. Make sure the video standard format is set to NTSC and click on "Next".
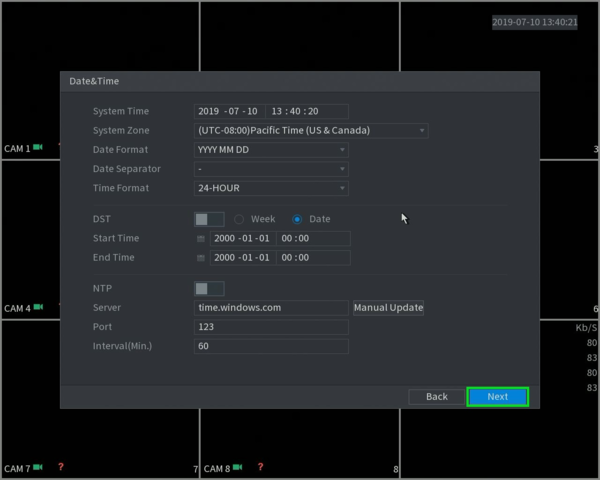
8. Here you can go in depth with the time settings. You may want to set up the DST (Daylight savings) so that it takes affect when the time comes.
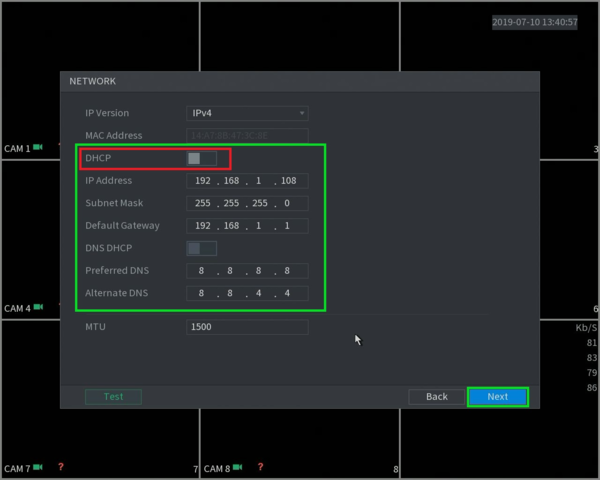
9. The recorder will be set as a static default IP address you see on the screen. Input an open local IP address and gateway from you network. If you don't know this information you can select DHCP (highlighted in the red box) in order to automatically receive an IP address from the router.
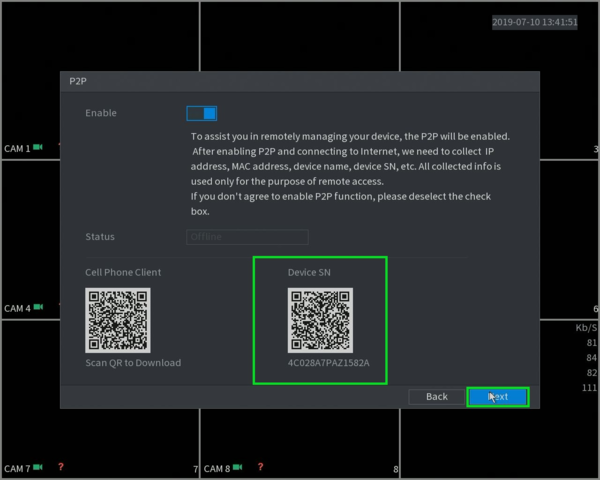
10. If you have the recorder properly connected to the router the P2P status will indicate "Online" and you can now remote in to the unit with our mobile app/PC app.
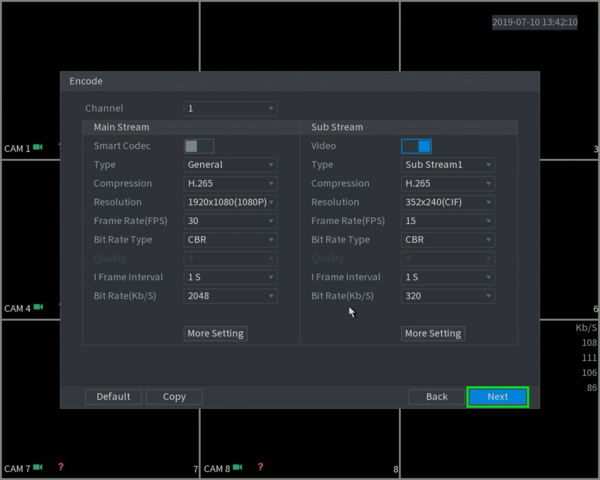
11. You can select the Encode settings for each camera by selecting the drop down menu on "Channel".
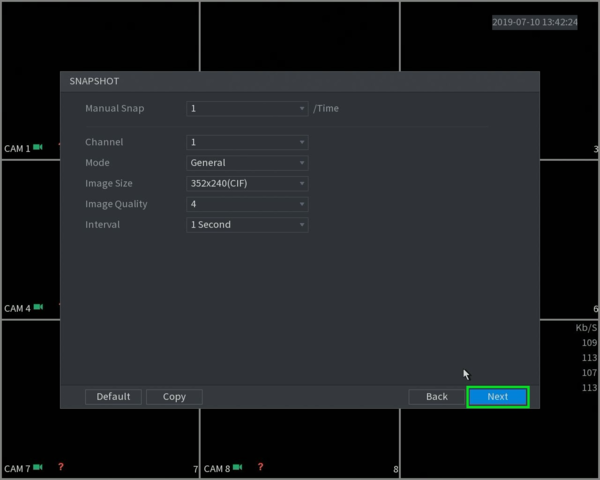
12. Select the resolution and image quality for snapshots.
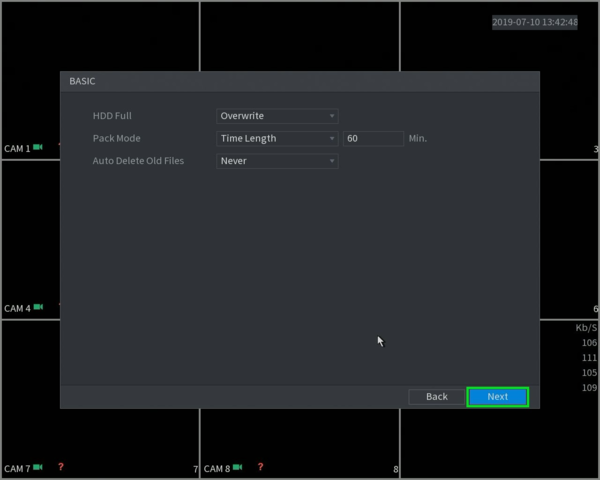
13. Select what you want to to when the hard drive fills up.
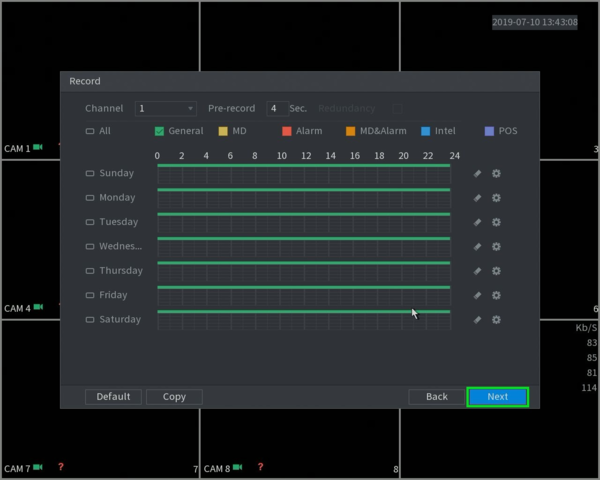
14. Here is you recording schedule, the green will indicate 24/7 recording and Yellow will be Motion recording.
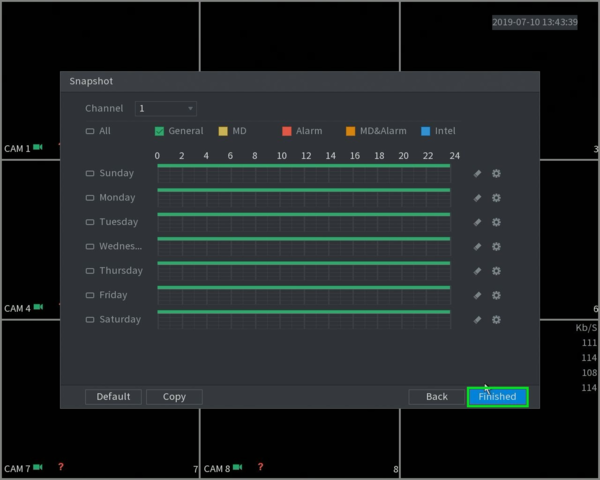
15. Here is you Snapshot schedule, same color legend as recording,
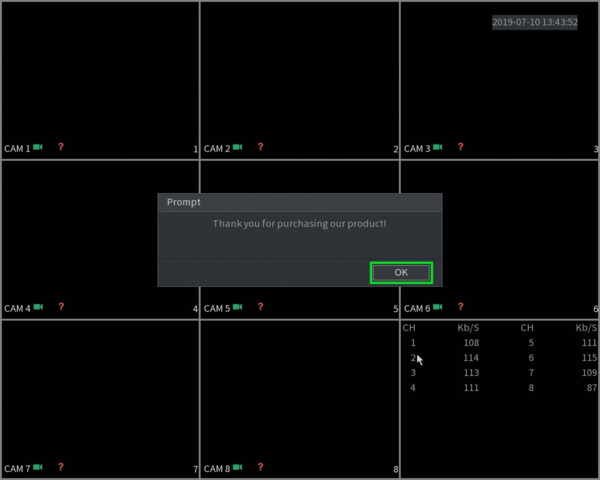
16. Once all that is setup you will be greeted with the final Prompt! You are now finished Initializing you new recorder
Related Articles
Diamond Recorder || Tripwire Setup(Local GUI)
Diamond Series Tripwire Setup (Local GUI) 1. From the Main Menu select AI. 2. Select Parameters on the left. Select Smart Plan. 3. Use the drop down box to select the camera channel. 4. Click and highlight IVS (You may need to deselect any other ...ENS Recorder || Backup onto USB || Local GUI
How to Backup footage to a USB drive on the ENS Recorder local GUI Starting on Live View in Full screen Right Click for the options box and click Menu. When there, click the Down Arrow to find and select Playback. In Playback select a camera or ...Diamond Recorder || Video Backup || Local GUI
Option 1: Once inserting the USB to the back of the recorder the device should be automatically found by the recorder allowing you to choose what type of backup you would like to download. Proceed by clicking on the file backup for video recordings. ...Diamond Recorder || Password reset (4.0) || Local GUI
How to Reset a Diamond Recorder Password If you’ve forgotten the password to your ENS Titanium recorder, follow these steps to reset it. This process does not require internet access on the recorder itself. Step 1: Select "Forgot Password?" From the ...Diamond Recorder || Tripwire Setup (Web GUI)
Diamond Series Tripwire Setup (Web GUI) 1. From the Main Menu select AI 2. Select Parameters on the left. Then select Smart Plan. Select the camera channel at the top. Select and highlight IVS (You may need to deselect any other options). Select OK ...